Consultation
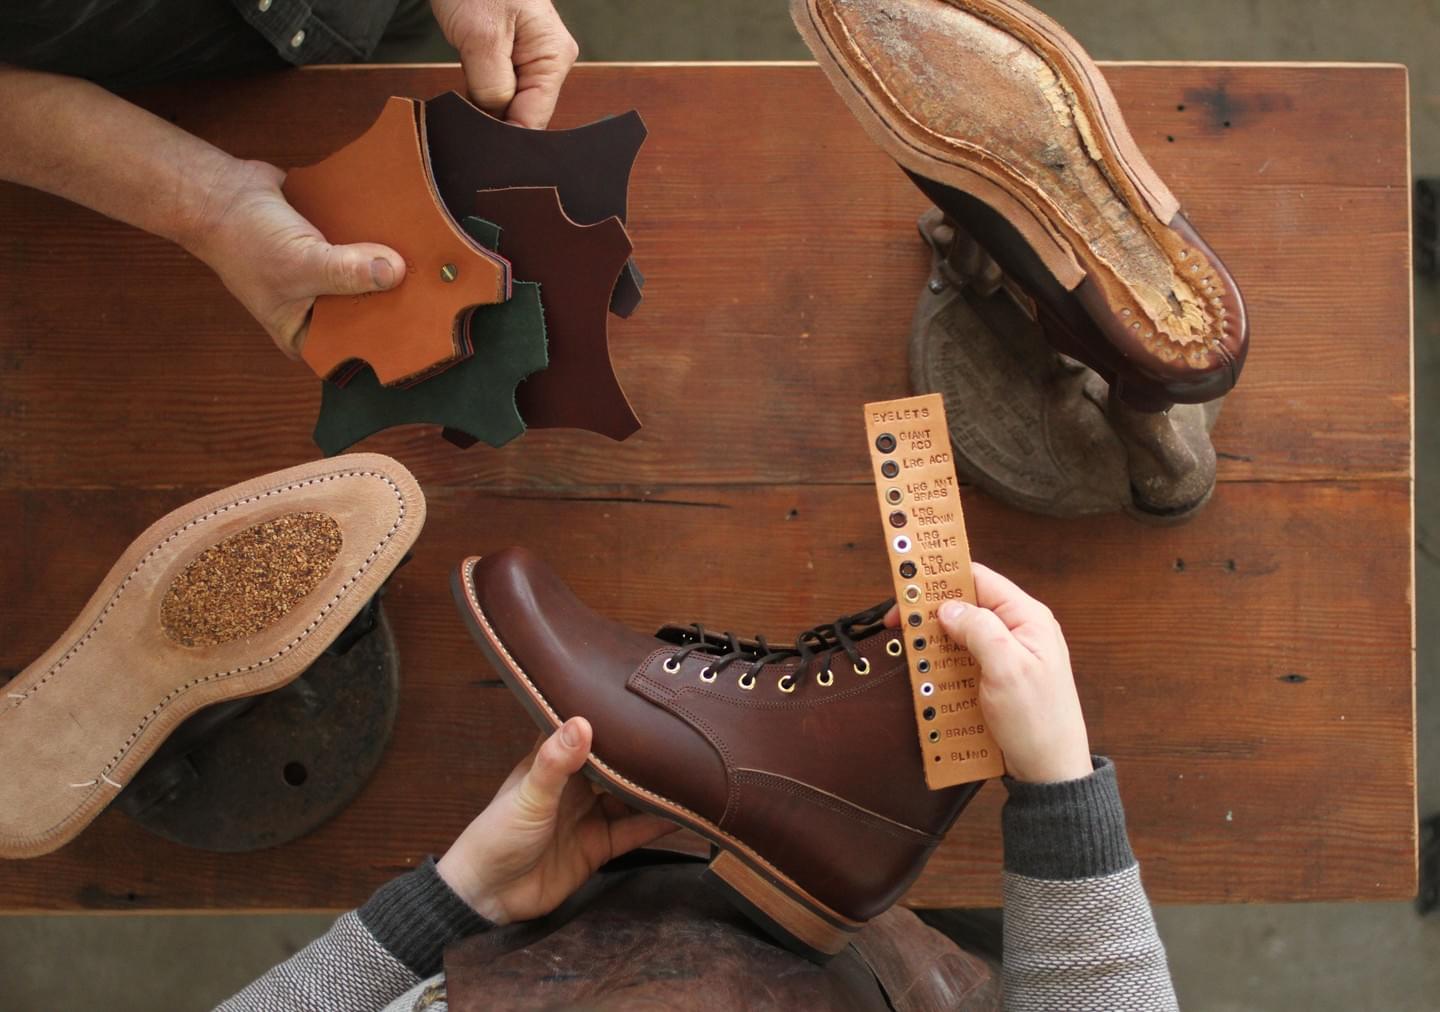
Interestingly, our Made-To-Order (MTO) service doesn’t start with shoes. Before we talk specifically about the finished shoes, we need to know a bit more about what you intend to use them for, how often and in what conditions they’re likely to be worn, and how you’d like them to look. Come to us with an idea of what you’re after and we will help to guide you through the myriad of choices to design a shoe and create a one-of-a-kind instant smile-inducer.
All of our shoes are made-to-order, one pair at a time and to your specifications. Effectively, when you choose shoes from us, you are part of the design process, not just a customer purchasing shoes.
After all the ideas and chit chat, we get down to the practical stuff.

Sizing
Once we've got the gist of what you're after, we move onto determining your size. We have a library of standard sized lasts (the foot-shaped thingamajig we use to make the shoes) that will dictate the length, toe shape, heel height and width of the finished shoe. It’s about choosing which one of these best suits your feet. Sometimes this could mean split sizing, which is nothing unusual for our MTO service. Our Gordon boots, for example, are available in three different toe shapes and two different widths. They are also available in full and half sizes.
In order to determine the best size, we begin using actual shoes and boots as our fitting guide. Our store contains fitting stock in various sizes and widths for you to try on. What we test your fit with may not be the exact style you’re thinking, but it will help us understand length and width and potentially even guide us to what styles are best suited to your foot shape.
If we need to make minor customisations to better accommodate your fit, we can also do this.
Style
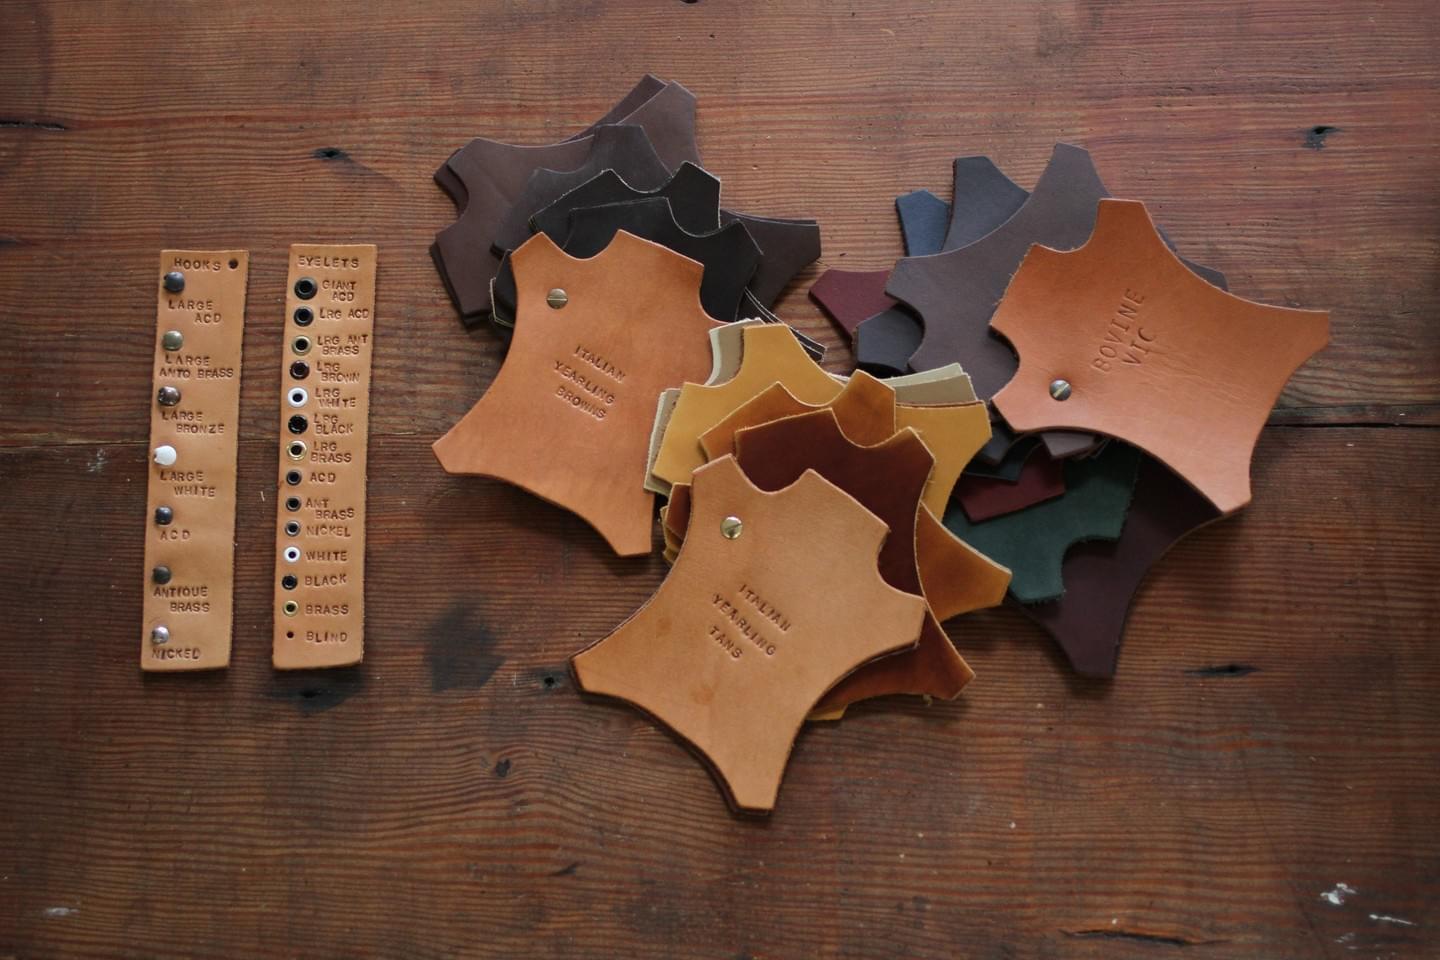
Now this is where the real design input begins. We will work with you through a menu of options to help you put together the perfect design for you. We have a number of upper patterns to choose from, but often it’s all the finer details that ultimately determine the style and whether the finished shoe is a bit dressier or more casual. Here are some of the considerations we’ll work through:
The upper pattern: this is the style on our website (eg: Gordon, Jack, Windsor, etc)
The leather type and colour: choose between bovine, yearling, kangaroo or calf in the myriad of swatches (some hand-dyed) on display in the shop
The finishing details: What colour is the edge finish of the sole? What polish should we use?
Hardware and embellishments: Are we doing eyelets or hooks?
Also practical considerations like internal padding and outsole material
Construction
The final consideration is which type of construction we use to build your shoes. There are both practical and aesthetic considerations to be made here.
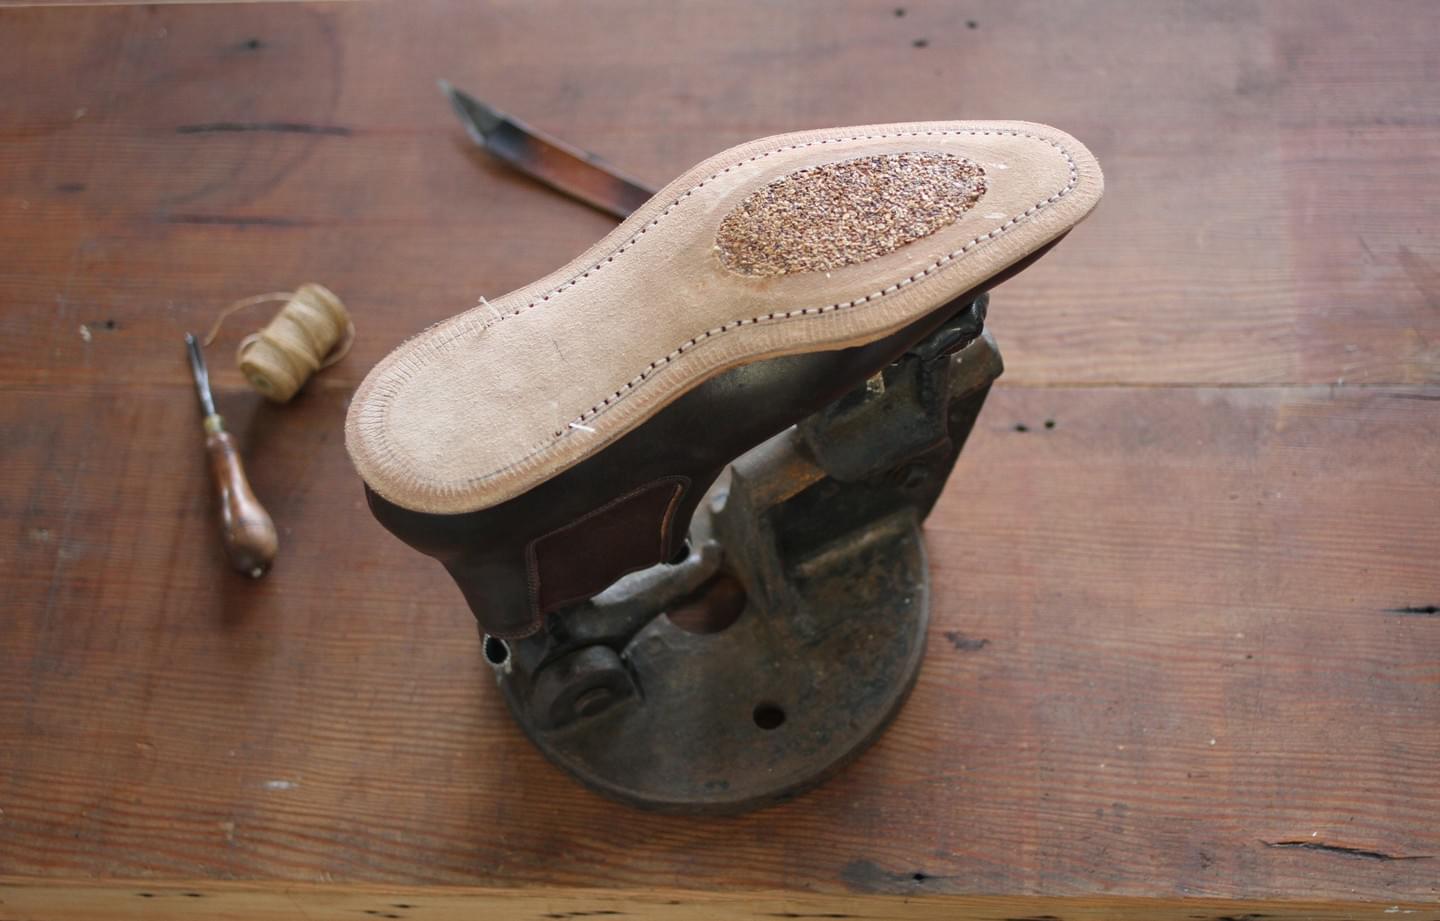
We use two main construction methods: Mckay Welt (Blake Rapid) and Blake Stitched. For more information click here.
McKay Welted shoes are stitched twice with the second stitch being visible from the birds-eye-view. This construction is recommended for heavier wear and more durable shoes. There are various options here too: Stitch Down/Triple Stitched, Storm Welted or just plain McKay Welted, all of which we can talk through with you. Mckay Welted is our version of Goodyear Welted, so the finish looks most like what you see in English shoes or in local examples such as RM Williams.
Blake Stitched soles are stitched once with no visible stitch from the birds-eye-view, which typically produces a finer sole profile and the resulting shoes are lighter and more flexible. Blake Stitched construction is often used by Italian shoe makers. All our shoes are blake stitched to begin with and you can see/feel the stitching on the leather insole inside the shoe/boot.
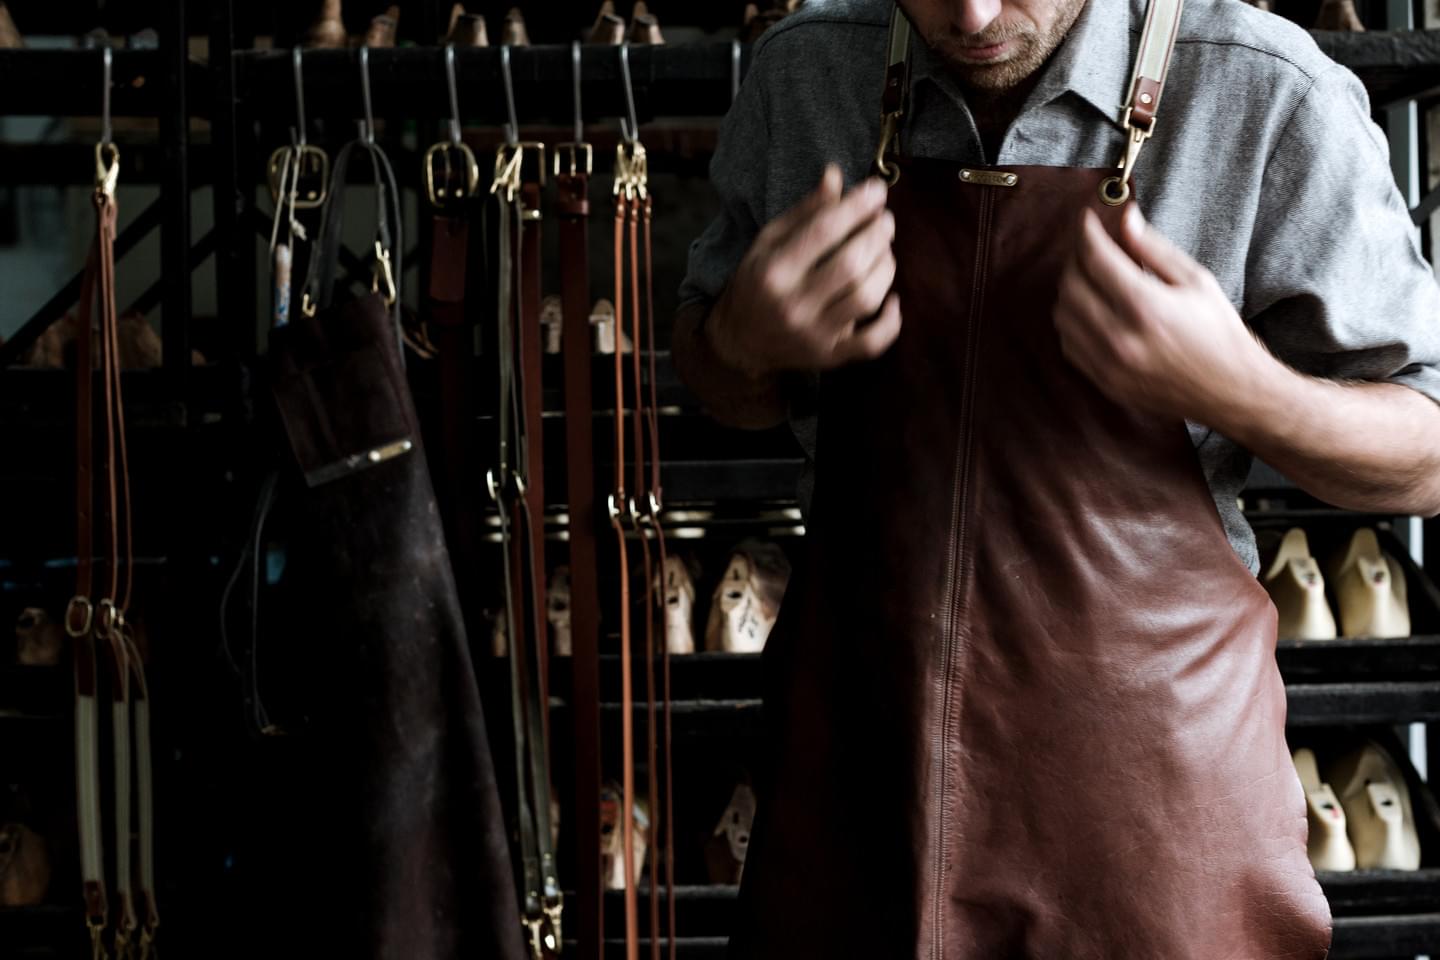
Timeframe
Most of our footwear is made-to-order. We choose not to make masses of stock and have them sitting waiting to find a home. The fashion industry contributes an enormously high percentage towards global waste through unwanted and oversupplied garments. By producing mostly to order, we are helping to mitigate this problem.
The only exception to this is our Originals range, This is a very focused selection of our best selling and timeless styles which are produced in small batches to be held in stock. Being a timeless style, which transcends seasonal fashion trends, we are not left with outdated stock which is wasted. For updated footwear timeframes refer to the light grey footer on our website at the bottom of the page. There are a number of processes that we cannot speed up as time is a crucial part of the end result. In order to ensure the finished shoe holds its shape, time is required for the wet moulded internal leather stiffners to properly dry and to ensure the upper leather has formed to the last correctly.
Once we have nutted out all the details, we get down to business and start making your shoes/boots in our workshop.
Process - Lasts
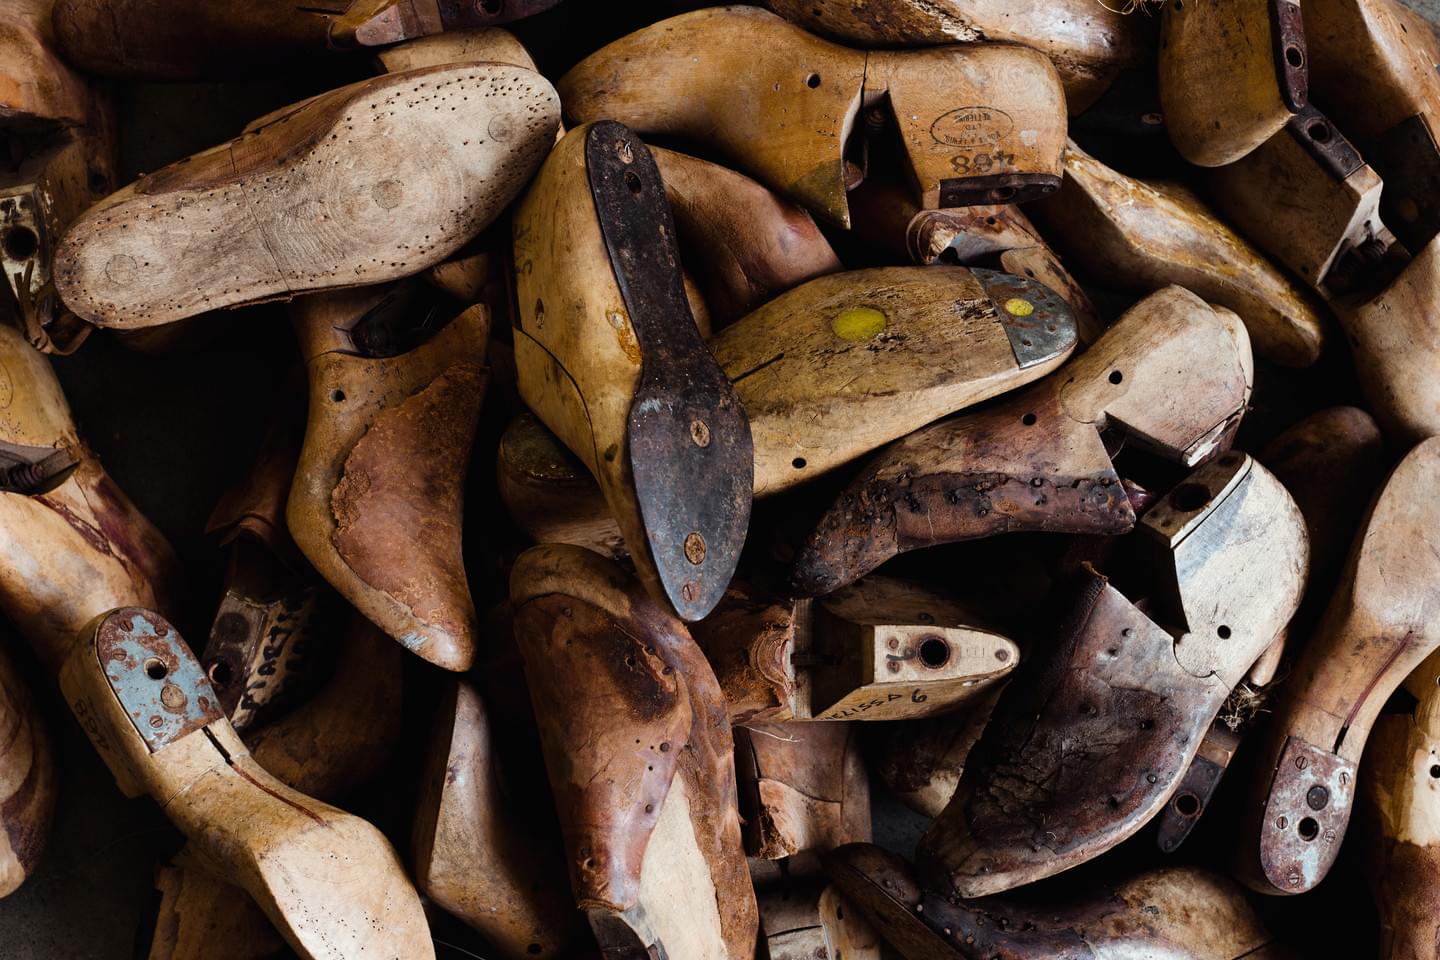
The last is the foot-shaped thingamajig (often made from wood, metal or plastic) that you’d see everywhere in the workshop. It’s kind of like a mould, only the other way round – rather than a craftsman pouring material into a last, they form a shoe around it.
Our lasts are asymmetrical forms, making them more anatomically correct and therefore fitting better than the symmetrical rationalised lasts used in most factories. So you could say our foot shaped thing-a-ma-jigs are more foot shaped than those which are typically used these days. From the asymmetric cone, to the anatomical footbed with depressions for metatarsals, and no feather through the waist for better arch support, these old style lasts ought to produce a more supportive and comfortable shoe.
Process - Cutting Leathers
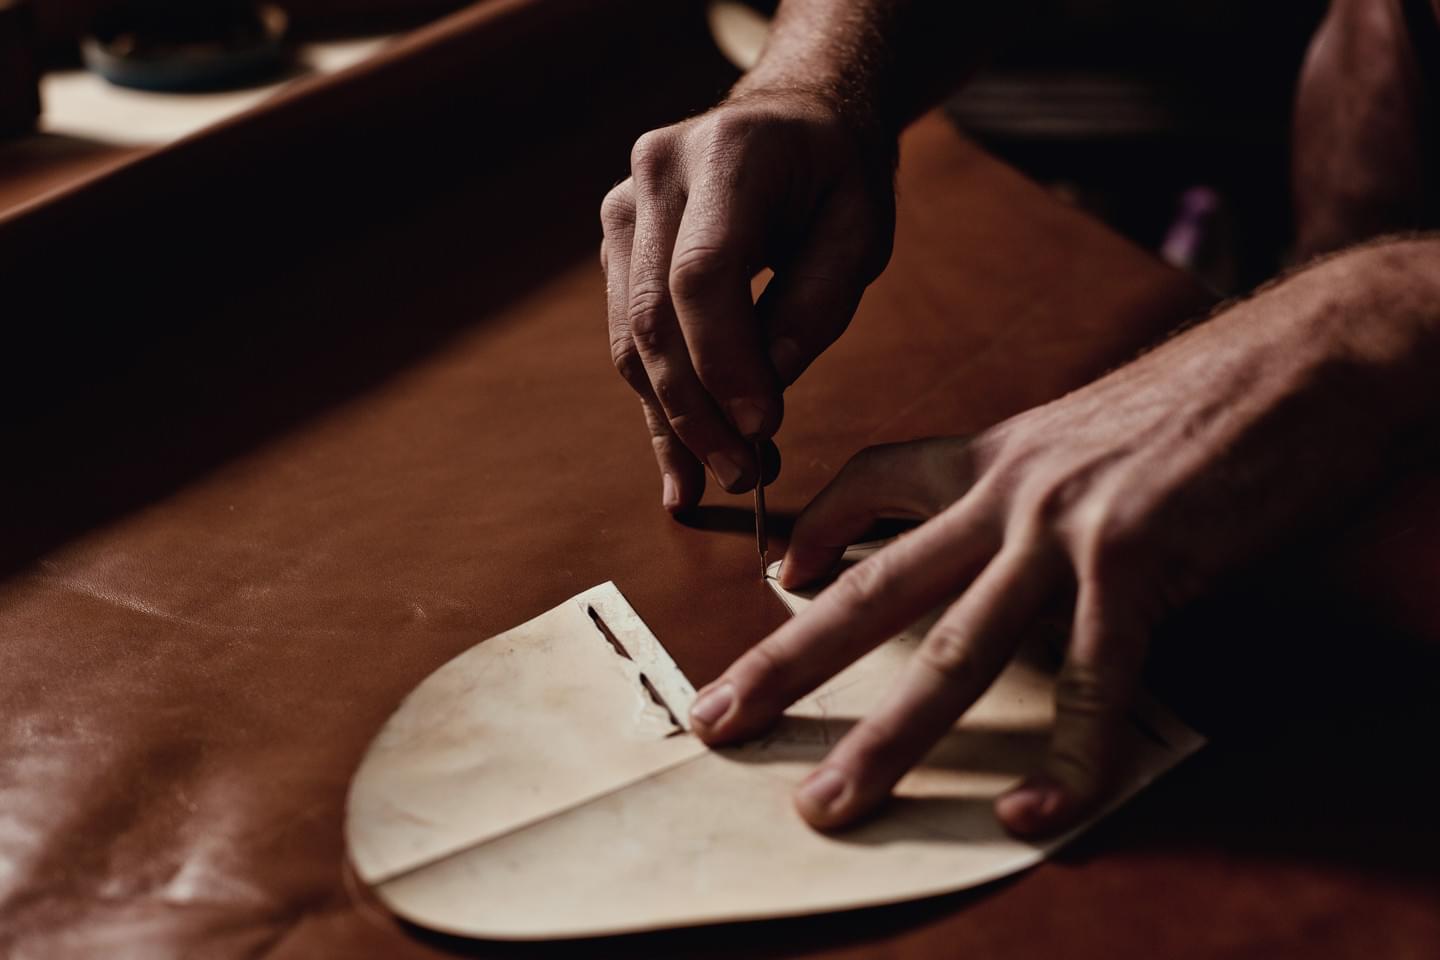
The leathers we use for our footwear are typically full grain aniline dyed leathers, which will age gracefully. We use leathers from all over the world but try to source locally as much as possible. Our bovine leathers are sourced from Australia (Geelong) and New Zealand. Most of our calf leathers are from Europe (England, France and Italy). For our boots we prefer to use 2mm bovine uppers and 1-1.2mm linings, making our boots incredibly sturdy.
All of our footwear is cut by hand, the old fashioned way, allowing us to select the best possible part of the hide for your shoes. This technique also means we can make minor alterations to patterns and margins if necessary.
Process - Hand-Dying/Blocking
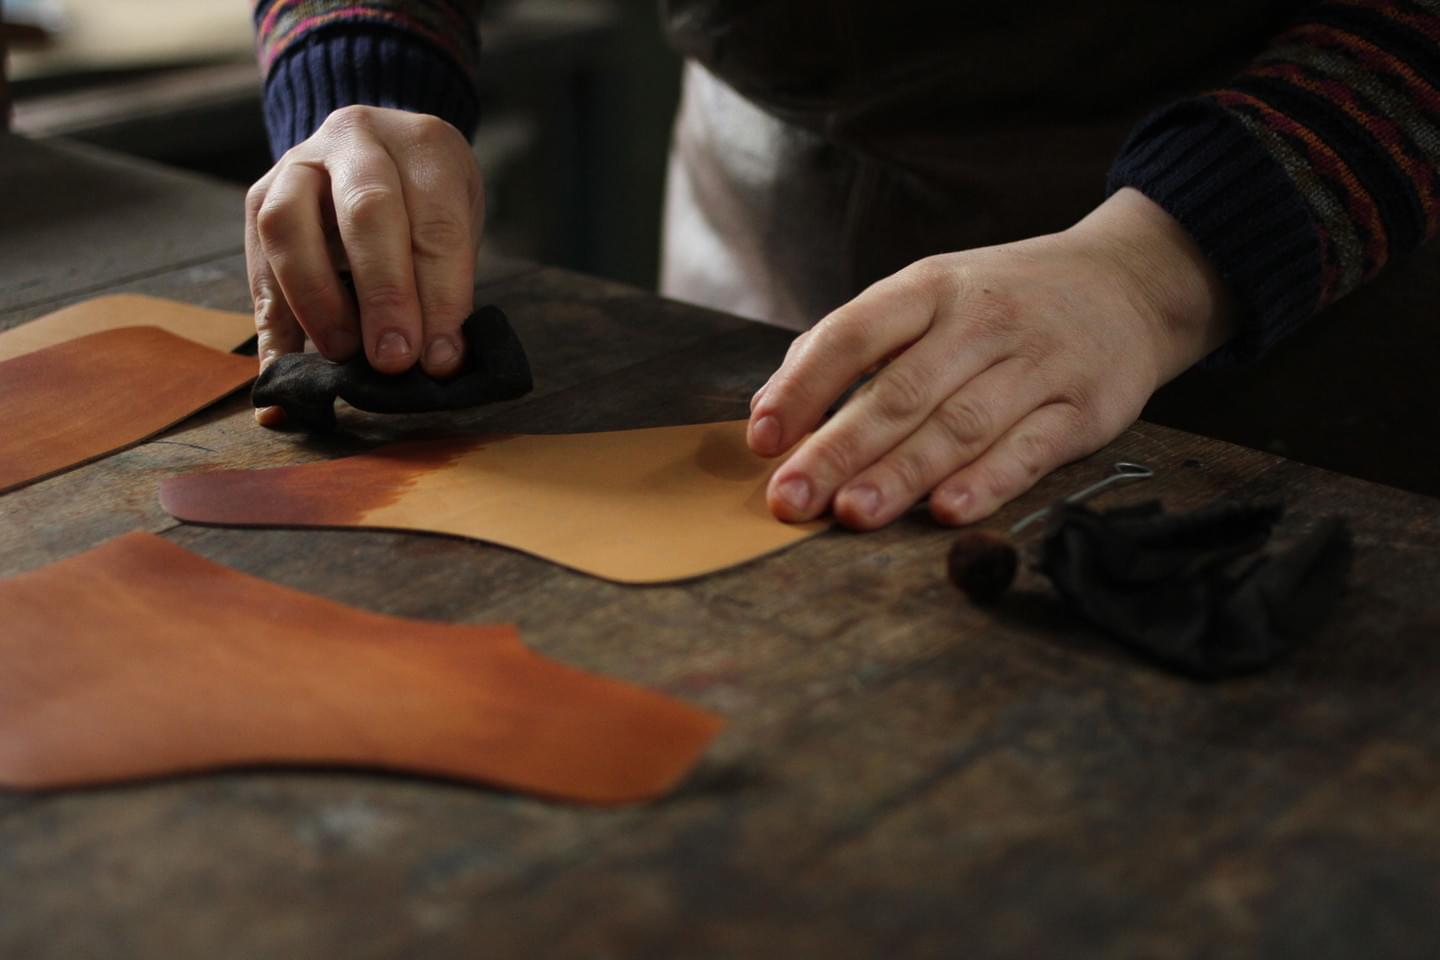
After cutting the hide to the desired pattern, we often hand-dye, finish and burnish our leathers. This means the colour and variations available are immense.
We split our leathers depending on the application, from a fine ladies dress shoe at 1mm to a robust boot at 2-2.2mm. As such, we have leathers that will suit any application.
Some of our boots require “blocking”, which is the process of forming the leather using heat and pressure to allow us to produce Chelsea boots with only one seam.
Process - Closing (Sewing/Skiving)
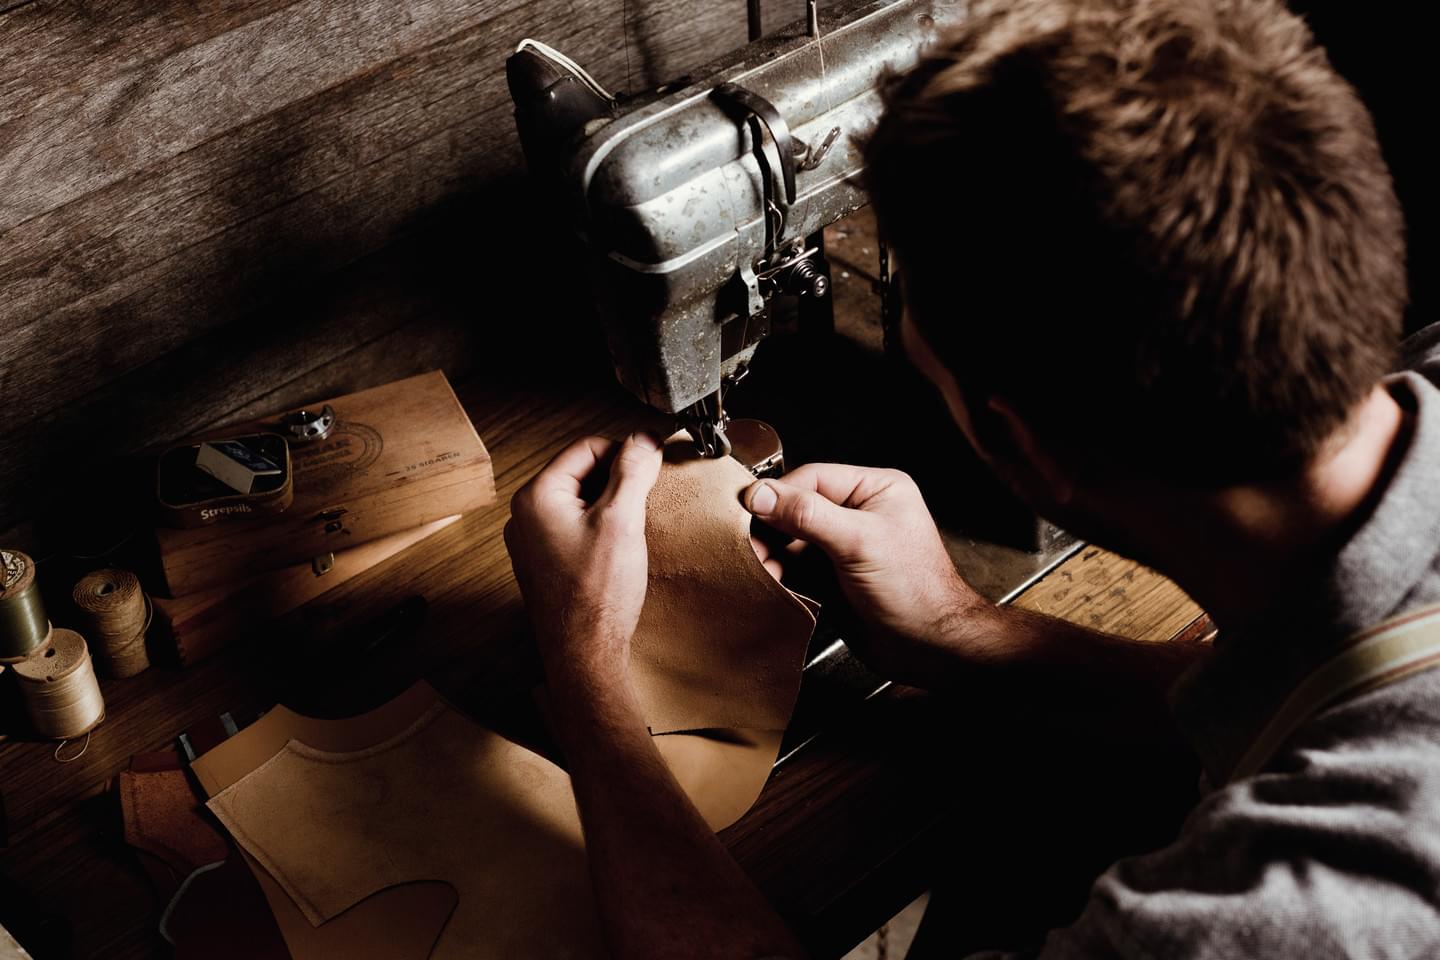
Once the leather is prepared it moves into the “closing room” where it is skived (to reduce the thickness on the edge or allow it to be folded) and sewn together. This is a painstaking process and requires the most skilled hands as one wrong move on a sewing machine and we’re back to square one.
Process - Eyelets & Laces
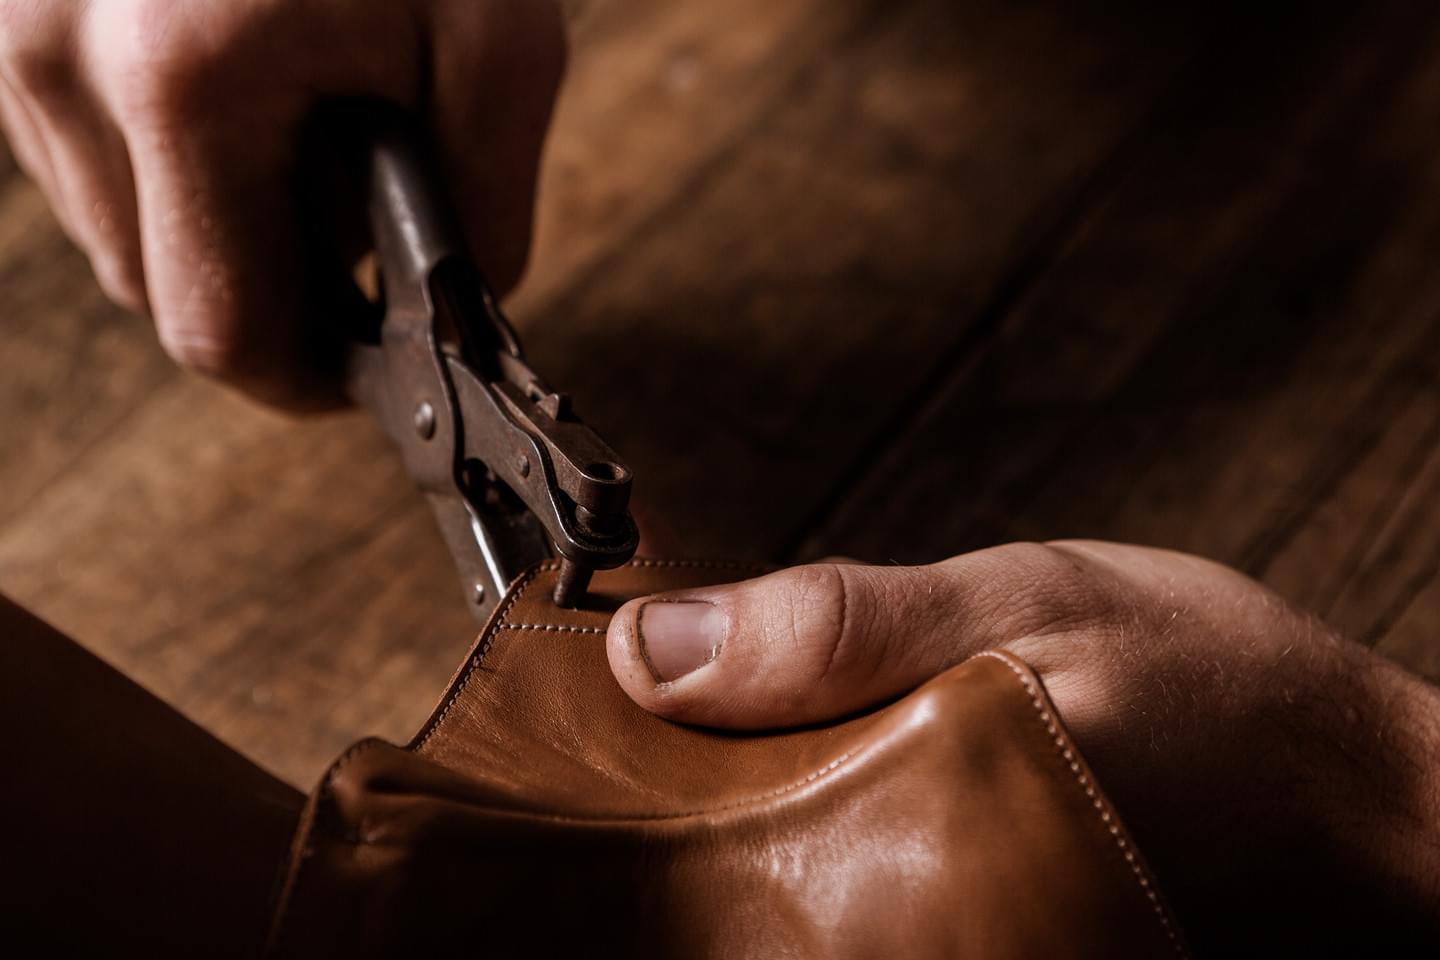
In some of our styles, eyelets and laces are required. Once the upper is “closed”, holes are hand-punched in the leather and metal eyelets are hand-set.
There are a number of different finishes and eyelet sizes to choose from, as well as speed hooks being an option. We will guide you through these choices in the consultation.
Process - Lasting
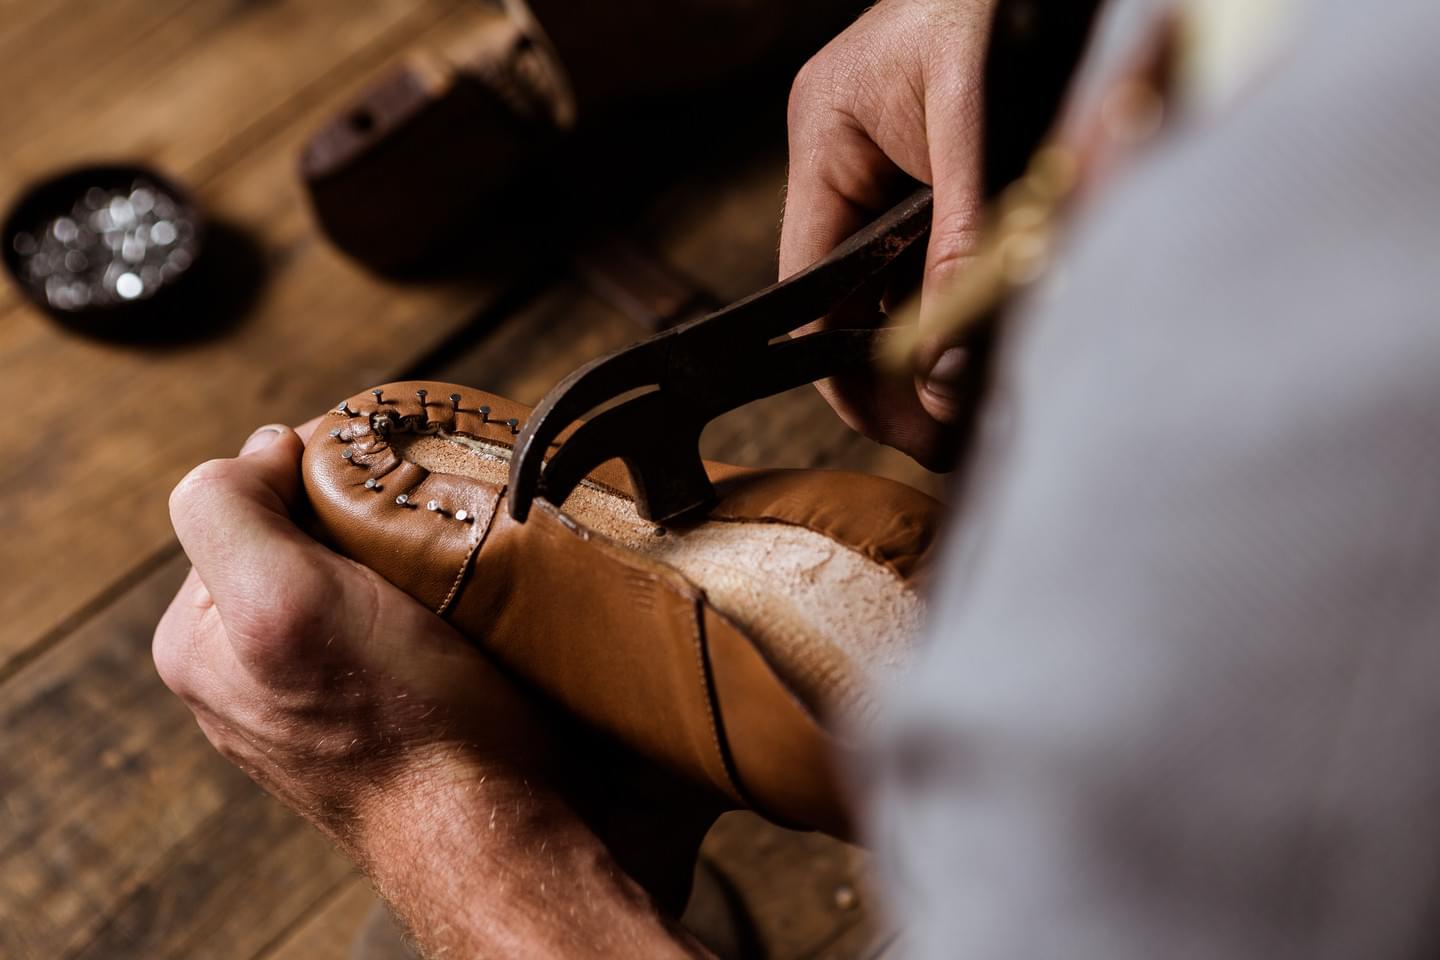
Lasting is the process of forming the upper (leathery bit) over the last (the foot shaped thing-a-ma-jig) and attaching it to the leather insole. We do this by hand using traditional techniques.
There is a stiffener inserted between the upper and the lining at the toe (to keep the shape of the toe) and the heel (to increase support and keep the shoe on your foot). We use vegetable tanned leather and starch paste here unlike many production shoes nowadays that use synthetic materials to speed up the process. The vegetable tanned leather requires time to dry and form to the last correctly so our shoes are left on the last for a minimum of two weeks.
Process - Bottoming
At this point we’re about halfway through the production process.
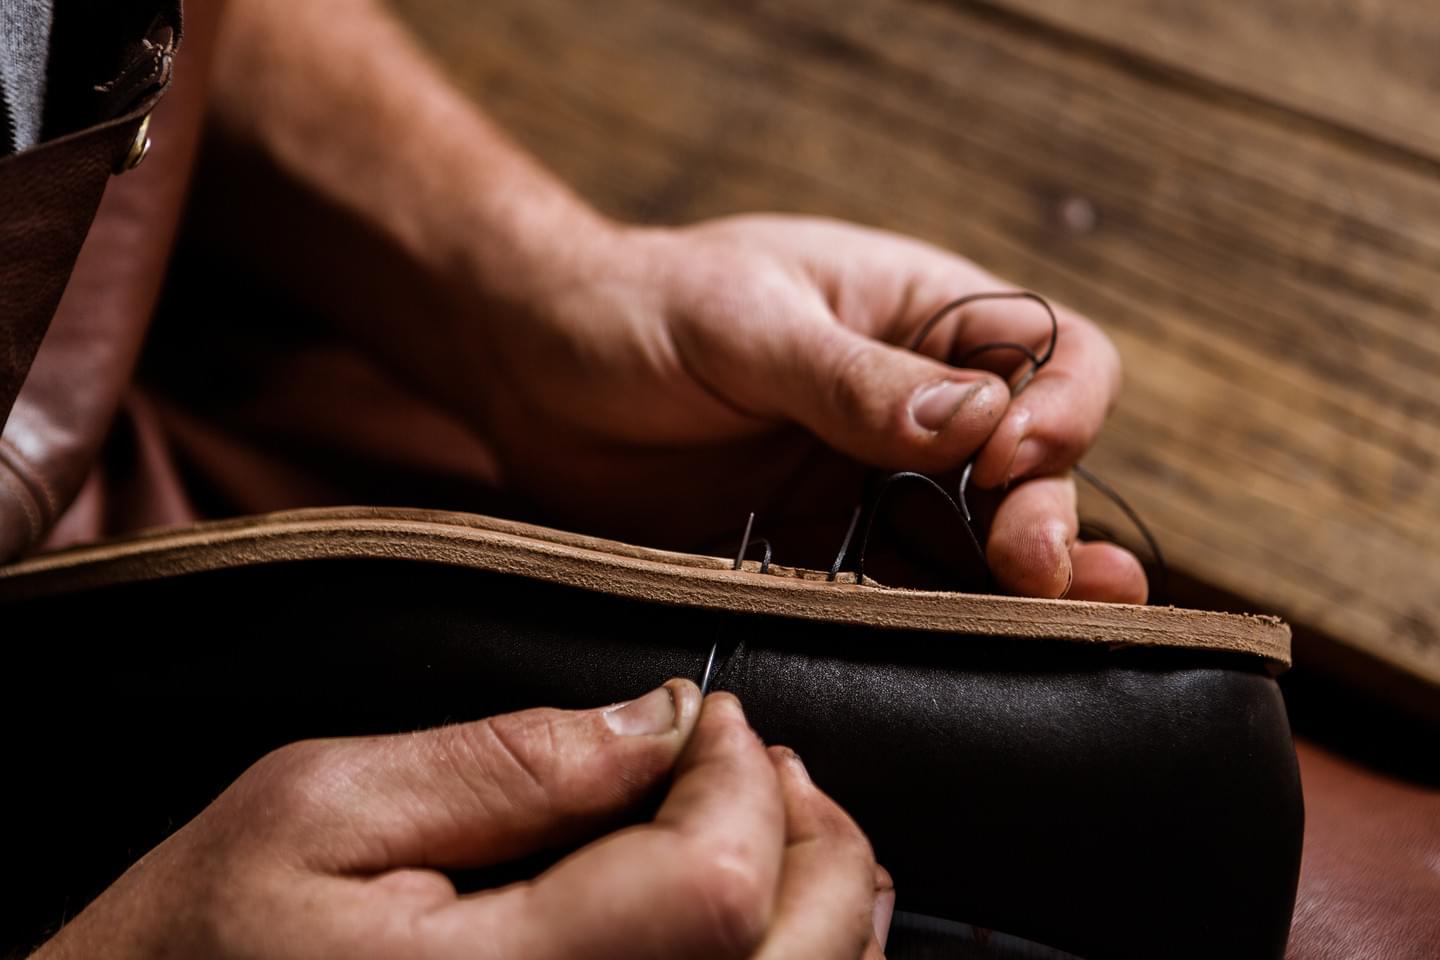
Next up, is bottoming. Simply put, Bottoming is the process of attaching the soles. However, there is nothing simple at all about this process. There are a number of components and steps involved depending on the construction you choose.
All of our soles are stitched whether it be once, twice or even three times. This is to ensure that they stay attached as long as you want them to. We use steel shanks to support your arch and cork bottom fillers to aid in flexibility and cushioning. Our shoes are made from 100% leather (upper, Linings, counters and toe puffs) as well as leather insoles, midsoles and heel blocks. The outsole can either be leather or rubber or a combination of the two.
Our footwear is also recraftable, from a simple re-topy to a full re-build, we can keep them in good shape longer than the soles will last.
Process - Finishing
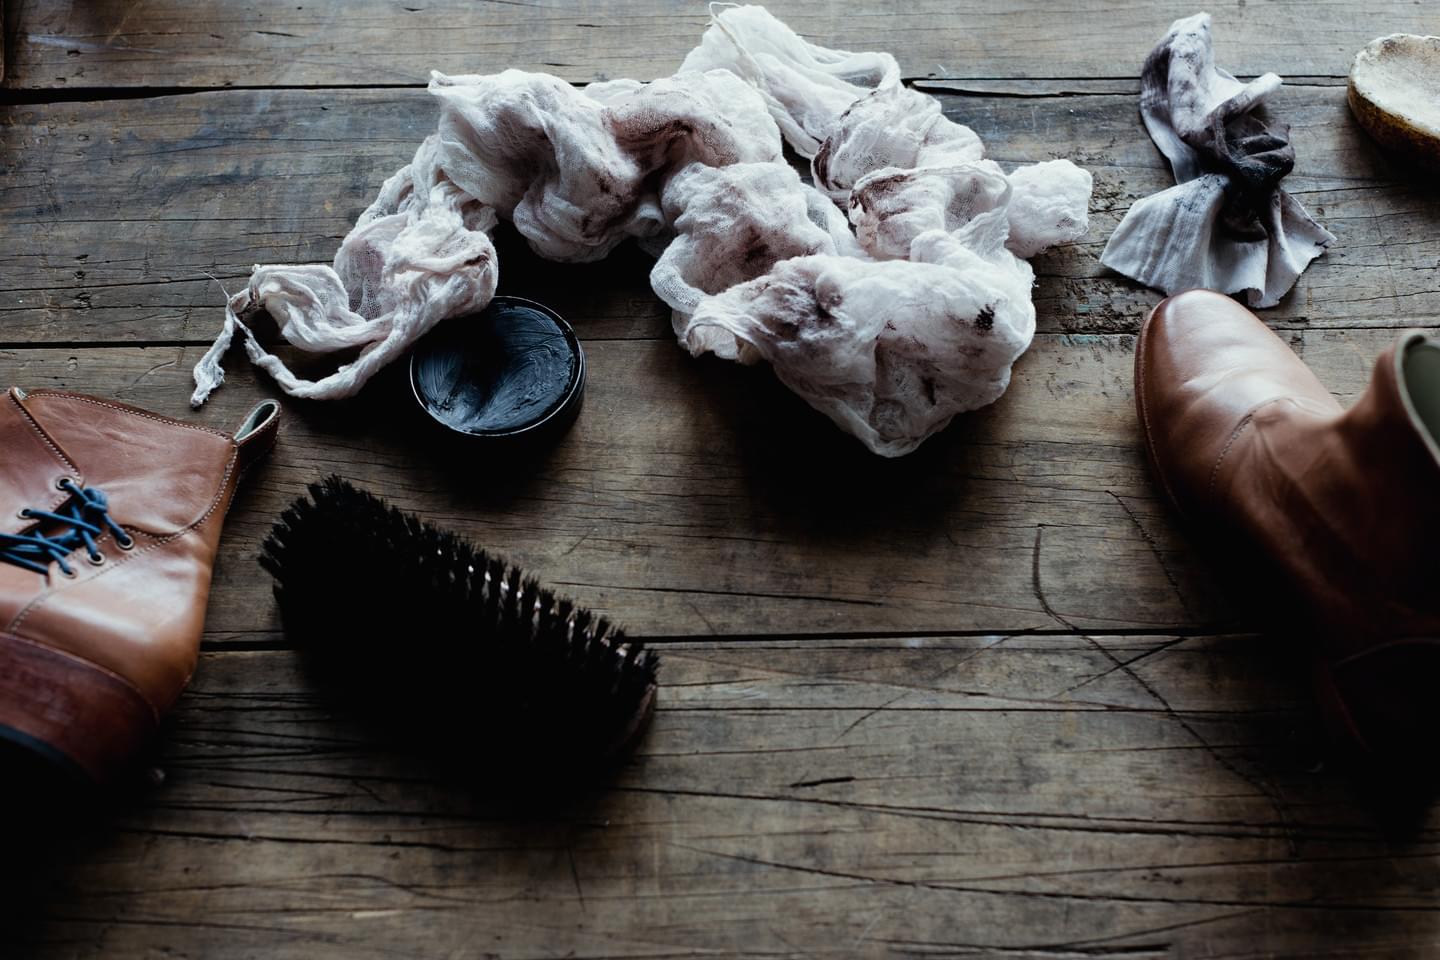
This is where the shoes are polished, the soles are dyed/edge finished and burnished, the heels are nailed in place and the sock is added. There are a lot of fine details here and the way the shoes are finished can have a dramatic effect on the aesthetic. Various dyes and polishes can be used to give a shoe a patinated appearance, with some of our leathers the toes and heels can be burnished, and even the laces can make a big difference. These are all things we will talk you through in the consultation.
Pick Up
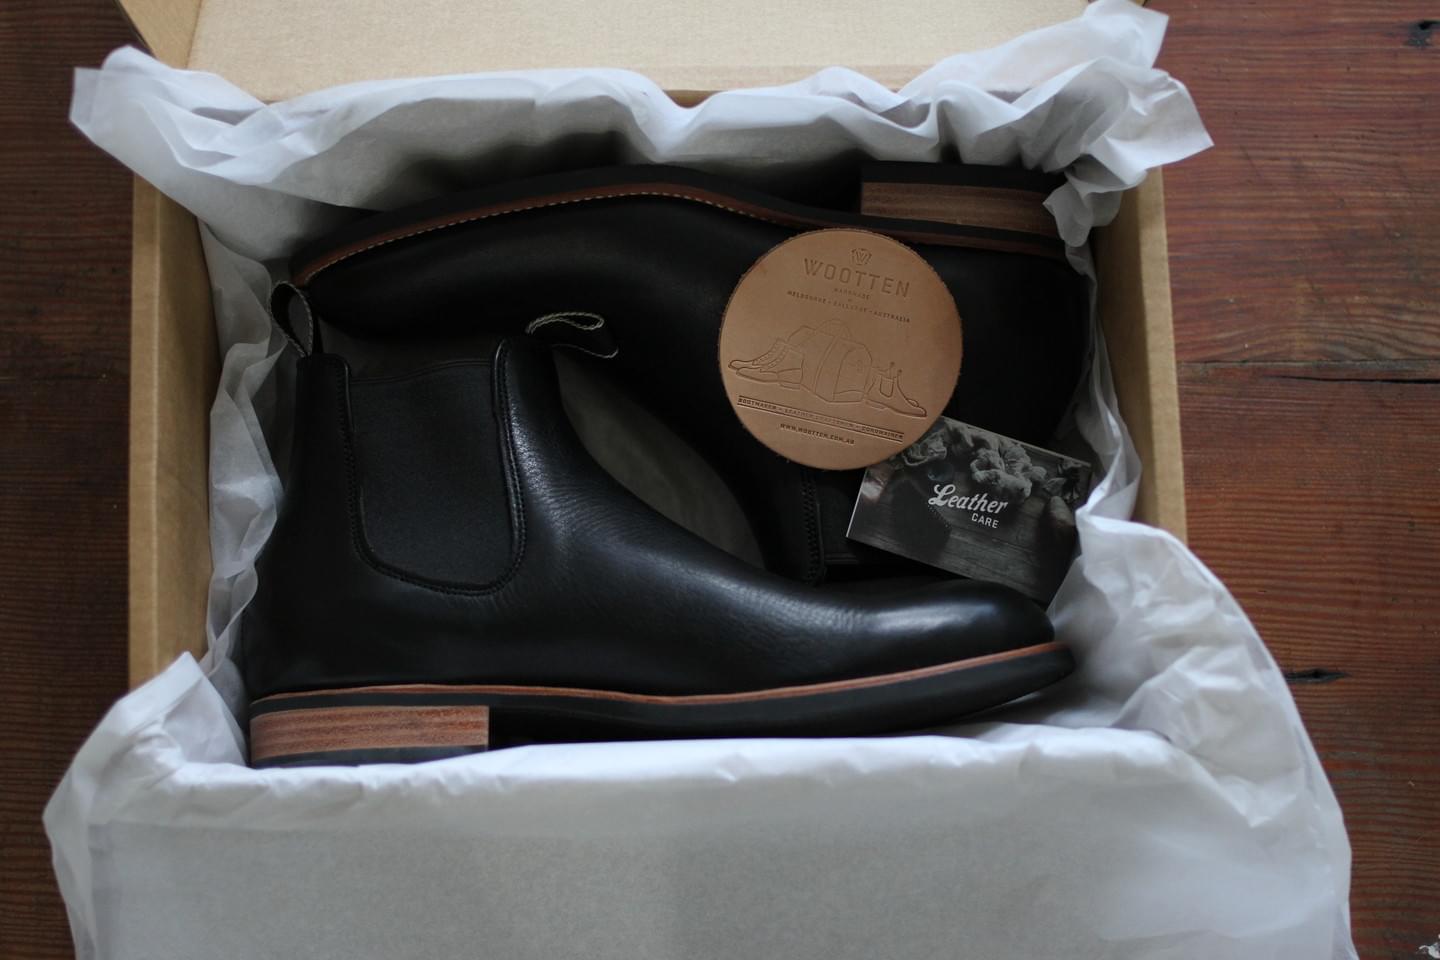
Finally, after all of this effort and time, your shoes are ready to be picked up. We are a small family business and a very small team so you’re likely to see the same faces when you come to pick up your new shoes as you did in the consultation. This is one of our favourite parts of the process as we both get to see how all those design decisions in the beginning have contributed to making your one-of-a-kind shoes.
